Adding your company logo gives surveys a professional, branded appearance that builds respondent trust. PaperSurvey offers two methods for placing a logo, depending on where you want it to appear and how much control you need over positioning. Both methods require an Enterprise or Enterprise Plus plan; Academic plans for universities also include them.
Method 1: Footer logo (appears on every page)
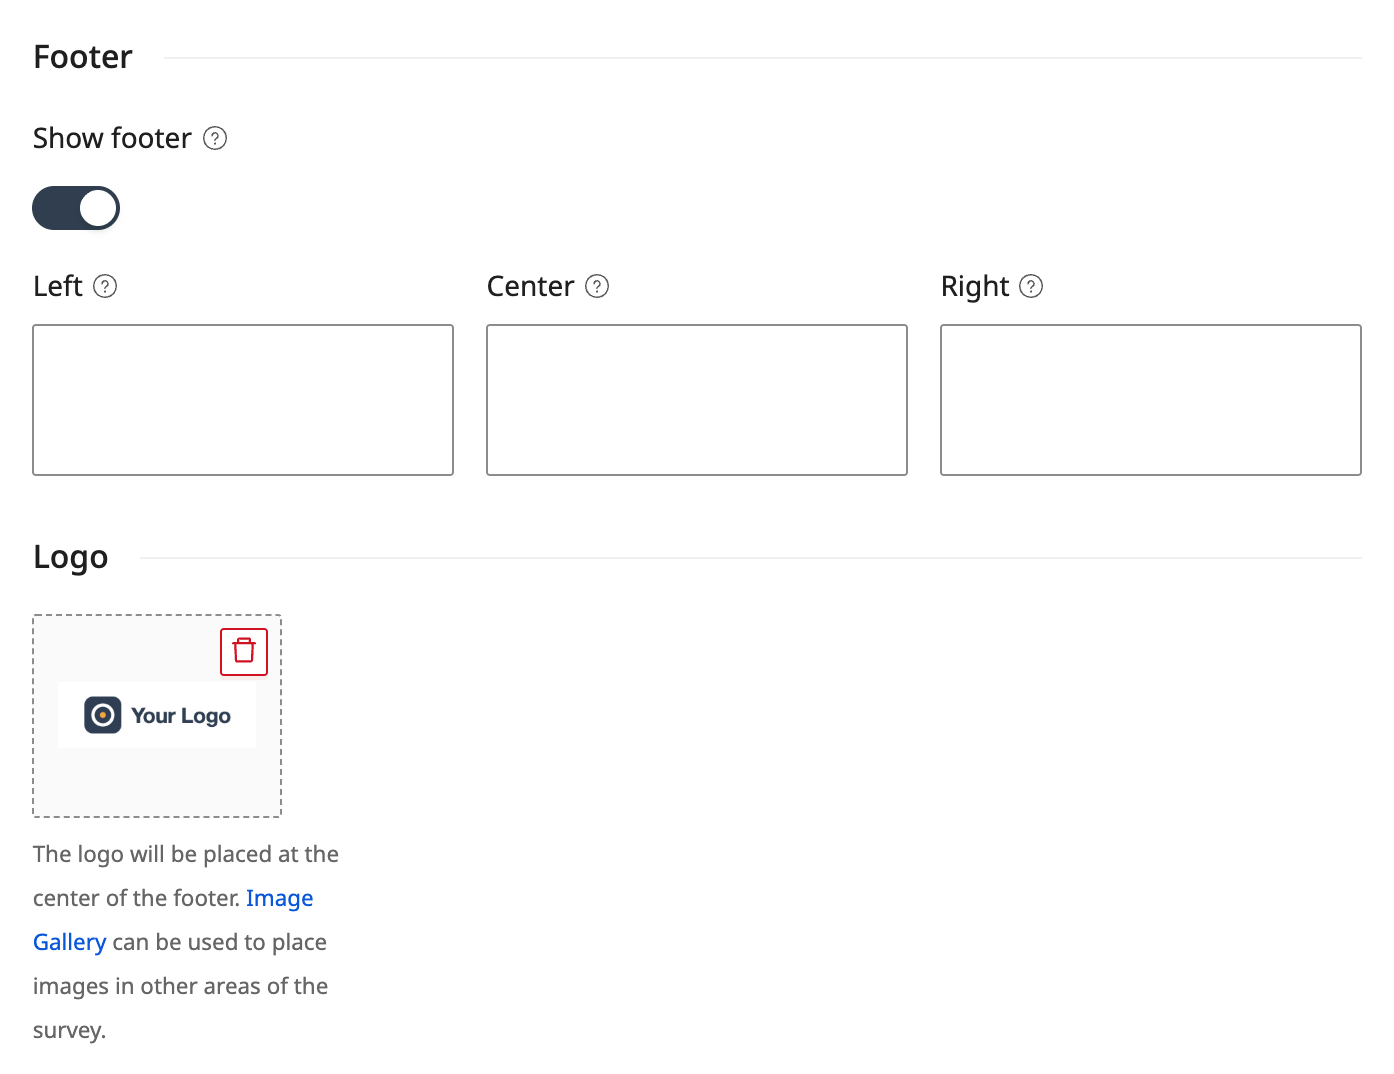
This approach automatically places your logo at the center of the footer on each survey page:
- Open the survey and click Settings next to its name.
- Find the Logo section under Paper Survey.
- Click Upload and select your logo image (PNG, JPG, or GIF).
The logo uploads immediately, without Save Changes, and appears on every page of the survey. If you have text in the Center footer field, remove it first, since the footer center holds either a logo or text, not both. On the new paper layout, Show footer must be on for the logo to print. To replace the logo, click it and choose another file. The red delete button at its top right removes it.
Method 2: Custom logo placement
For more control over logo position and size, use the Image Manager:
- Go to the Image Manager
- Upload your logo file
- Copy the generated shortcode (e.g.,
[img]your-logo[/img]) - Paste the shortcode anywhere in your survey:
- In the survey header for prominent branding
- Within specific questions
- In instruction sections
Sizing your logo
Use these shortcode options to control logo size:
[img width=half]your-logo[/img]for half page width[img width=5 height=2]your-logo[/img]for specific dimensions (in cm)[img width=third center]your-logo[/img]for a centered logo at one-third width
For detailed instructions on working with images, see our guide on adding images to survey forms.