Images make surveys more engaging and help respondents understand questions at a glance. Whether you need to add a company logo, product photos, diagrams, or visual instructions, PaperSurvey's Image Manager and shortcode system make it straightforward.
Note: Image functionality requires an Enterprise plan or higher.
Step-by-step guide
1. Access the Image Manager
Navigate to the Image Manager from your dashboard, or click More then Image Manager in the top menu.
2. Upload your images
- Click Upload Image or drag files into the upload area
- Supported formats: JPG, PNG
- Maximum file size: 10MB per image
- Multiple images can be uploaded at once
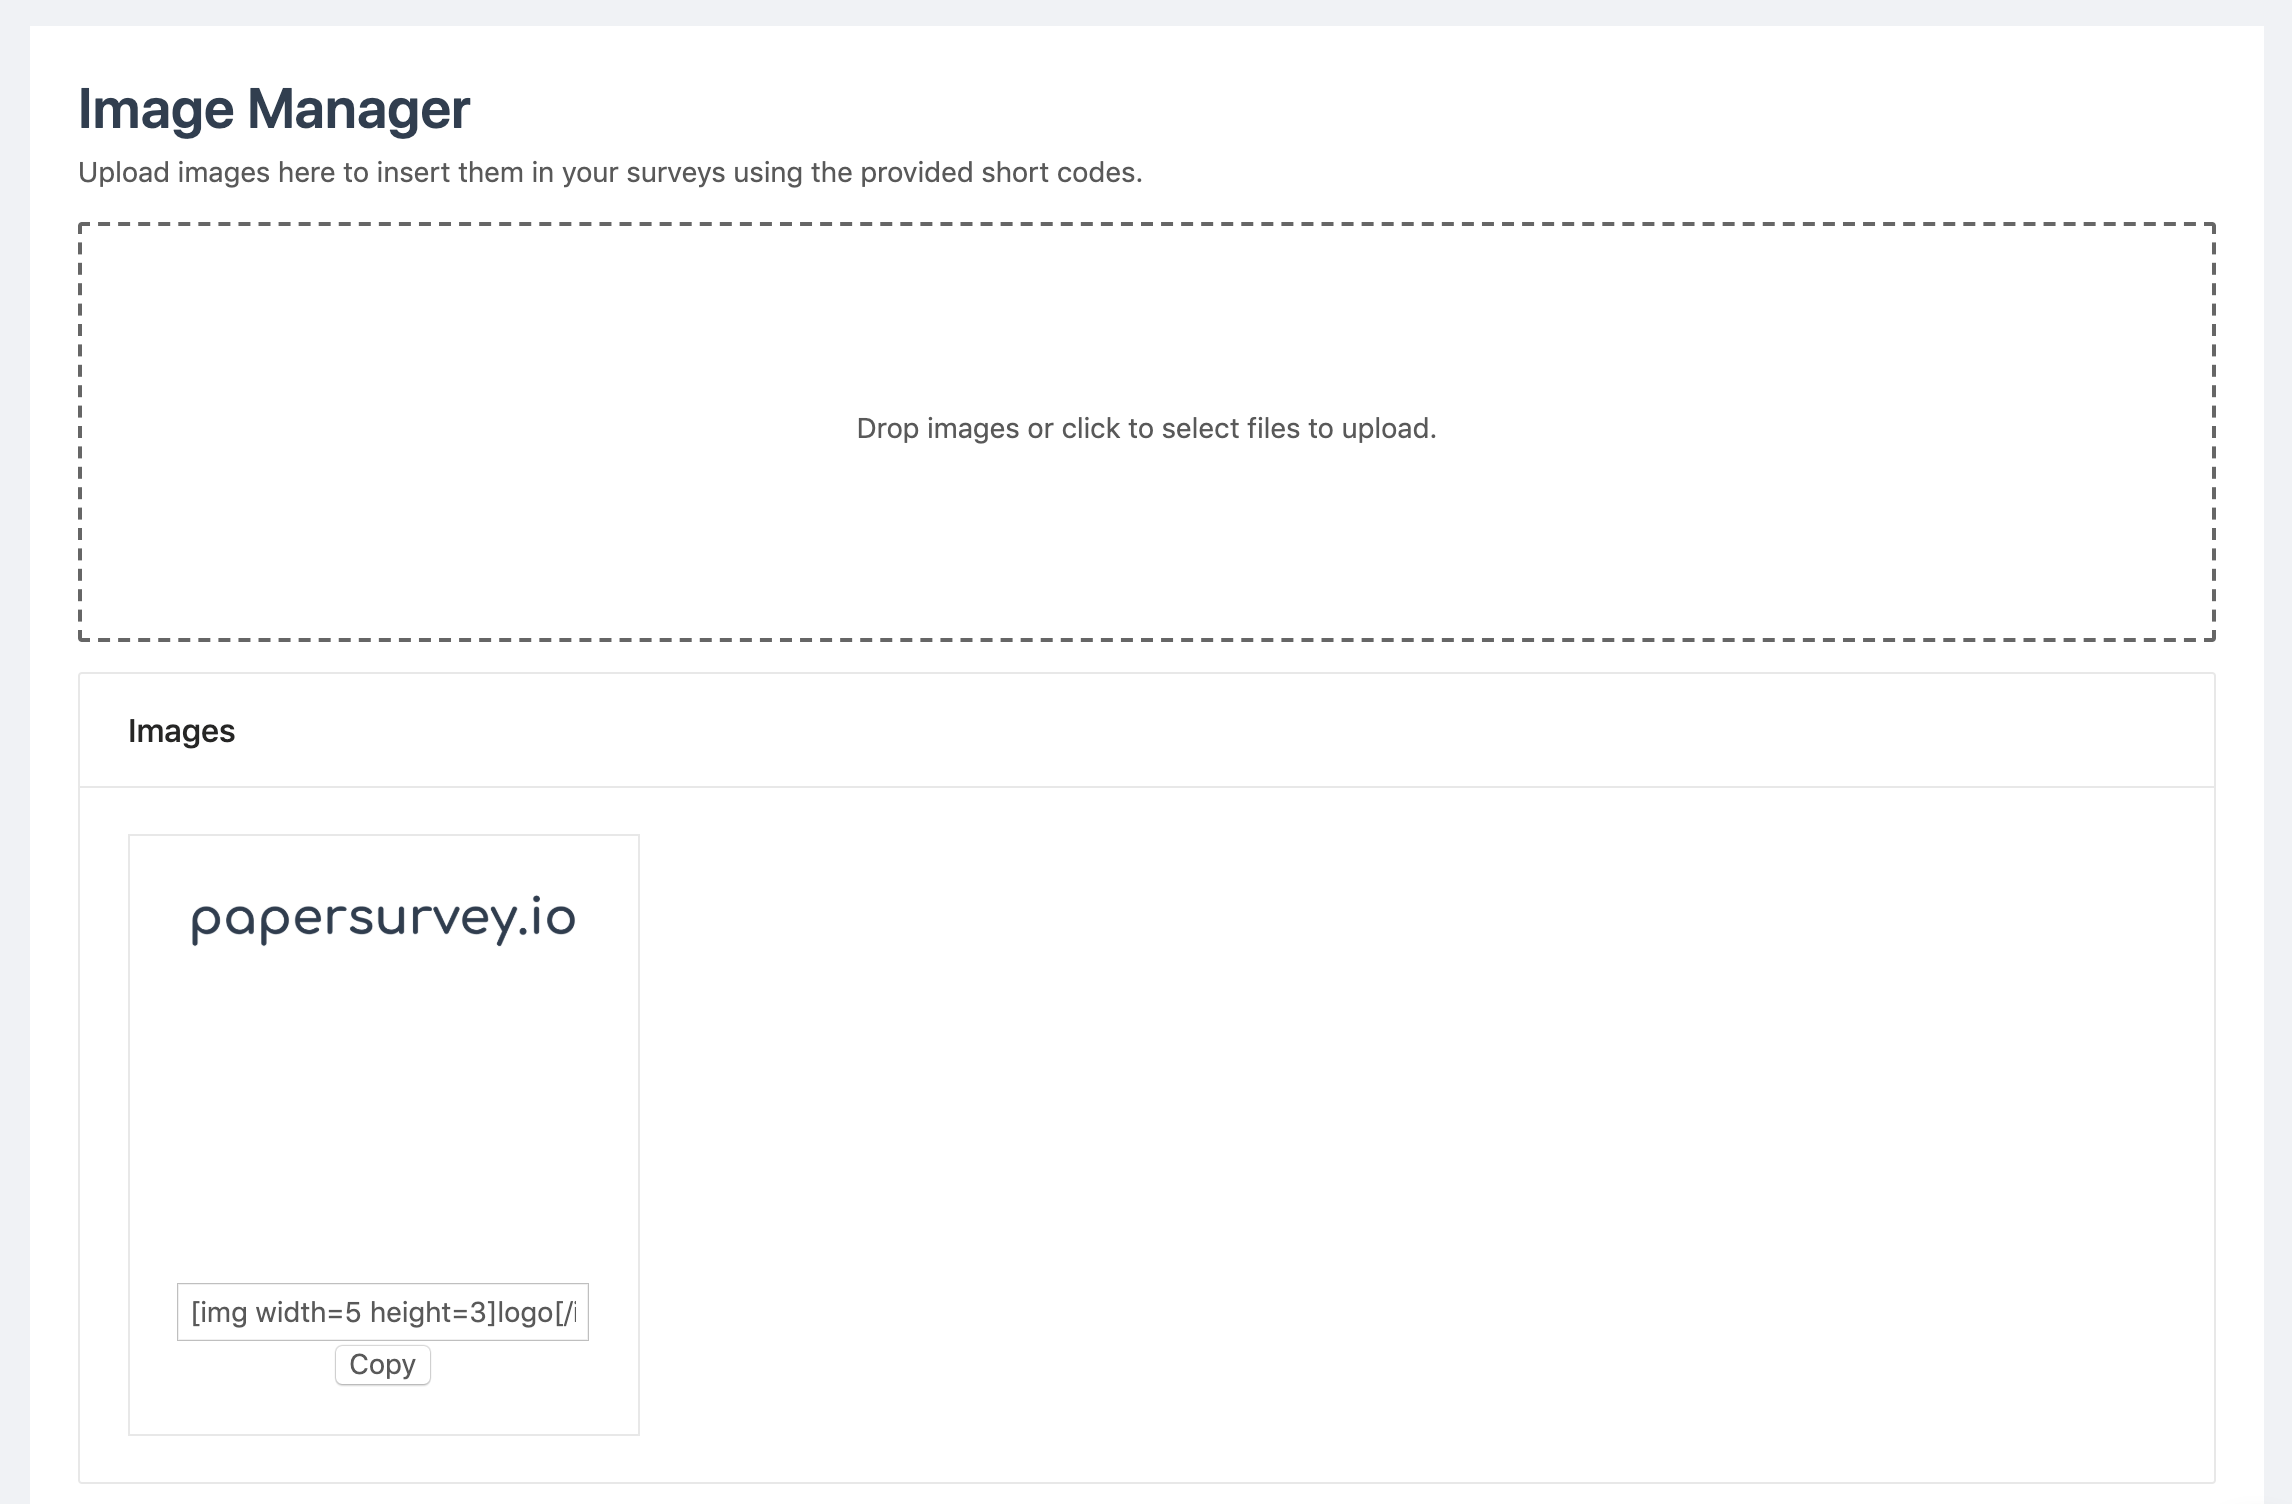
3. Get the image shortcode
After uploading, each image displays a shortcode like [img]filename[/img]. Click the shortcode to copy it to your clipboard.
4. Add images to your survey
- Open your survey in the form builder
- Place your cursor where you want the image
- Paste the shortcode
- The image appears when you preview or print
Image sizing options
Quick presets
[img]my-image[/img]for full page width[img width=half]my-image[/img]for 50% of page width[img width=third]my-image[/img]for 33% of page width
Custom sizes
Specify exact dimensions in centimeters:
[img width=5 height=3]my-image[/img]for 5cm wide by 3cm tall[img width=10]my-image[/img]for 10cm wide (height auto-scales)
Positioning
Add center to center any image:
[img width=5 height=3 center]my-image[/img]
Where to place images
Images can be added in multiple locations throughout your survey:
- Survey header for your logo or branding
- Question text to show examples or visual aids
- Instructions section to provide visual guidance
- Between questions to break up long surveys
Common uses
- Branding: Company logos in headers
- Product feedback: Show items being evaluated
- Visual scales: Display rating examples (smiley faces, stars)
- Instructions: Include annotated screenshots
- Location surveys: Add maps or floor plans
- Medical forms: Show body diagrams for pain assessment