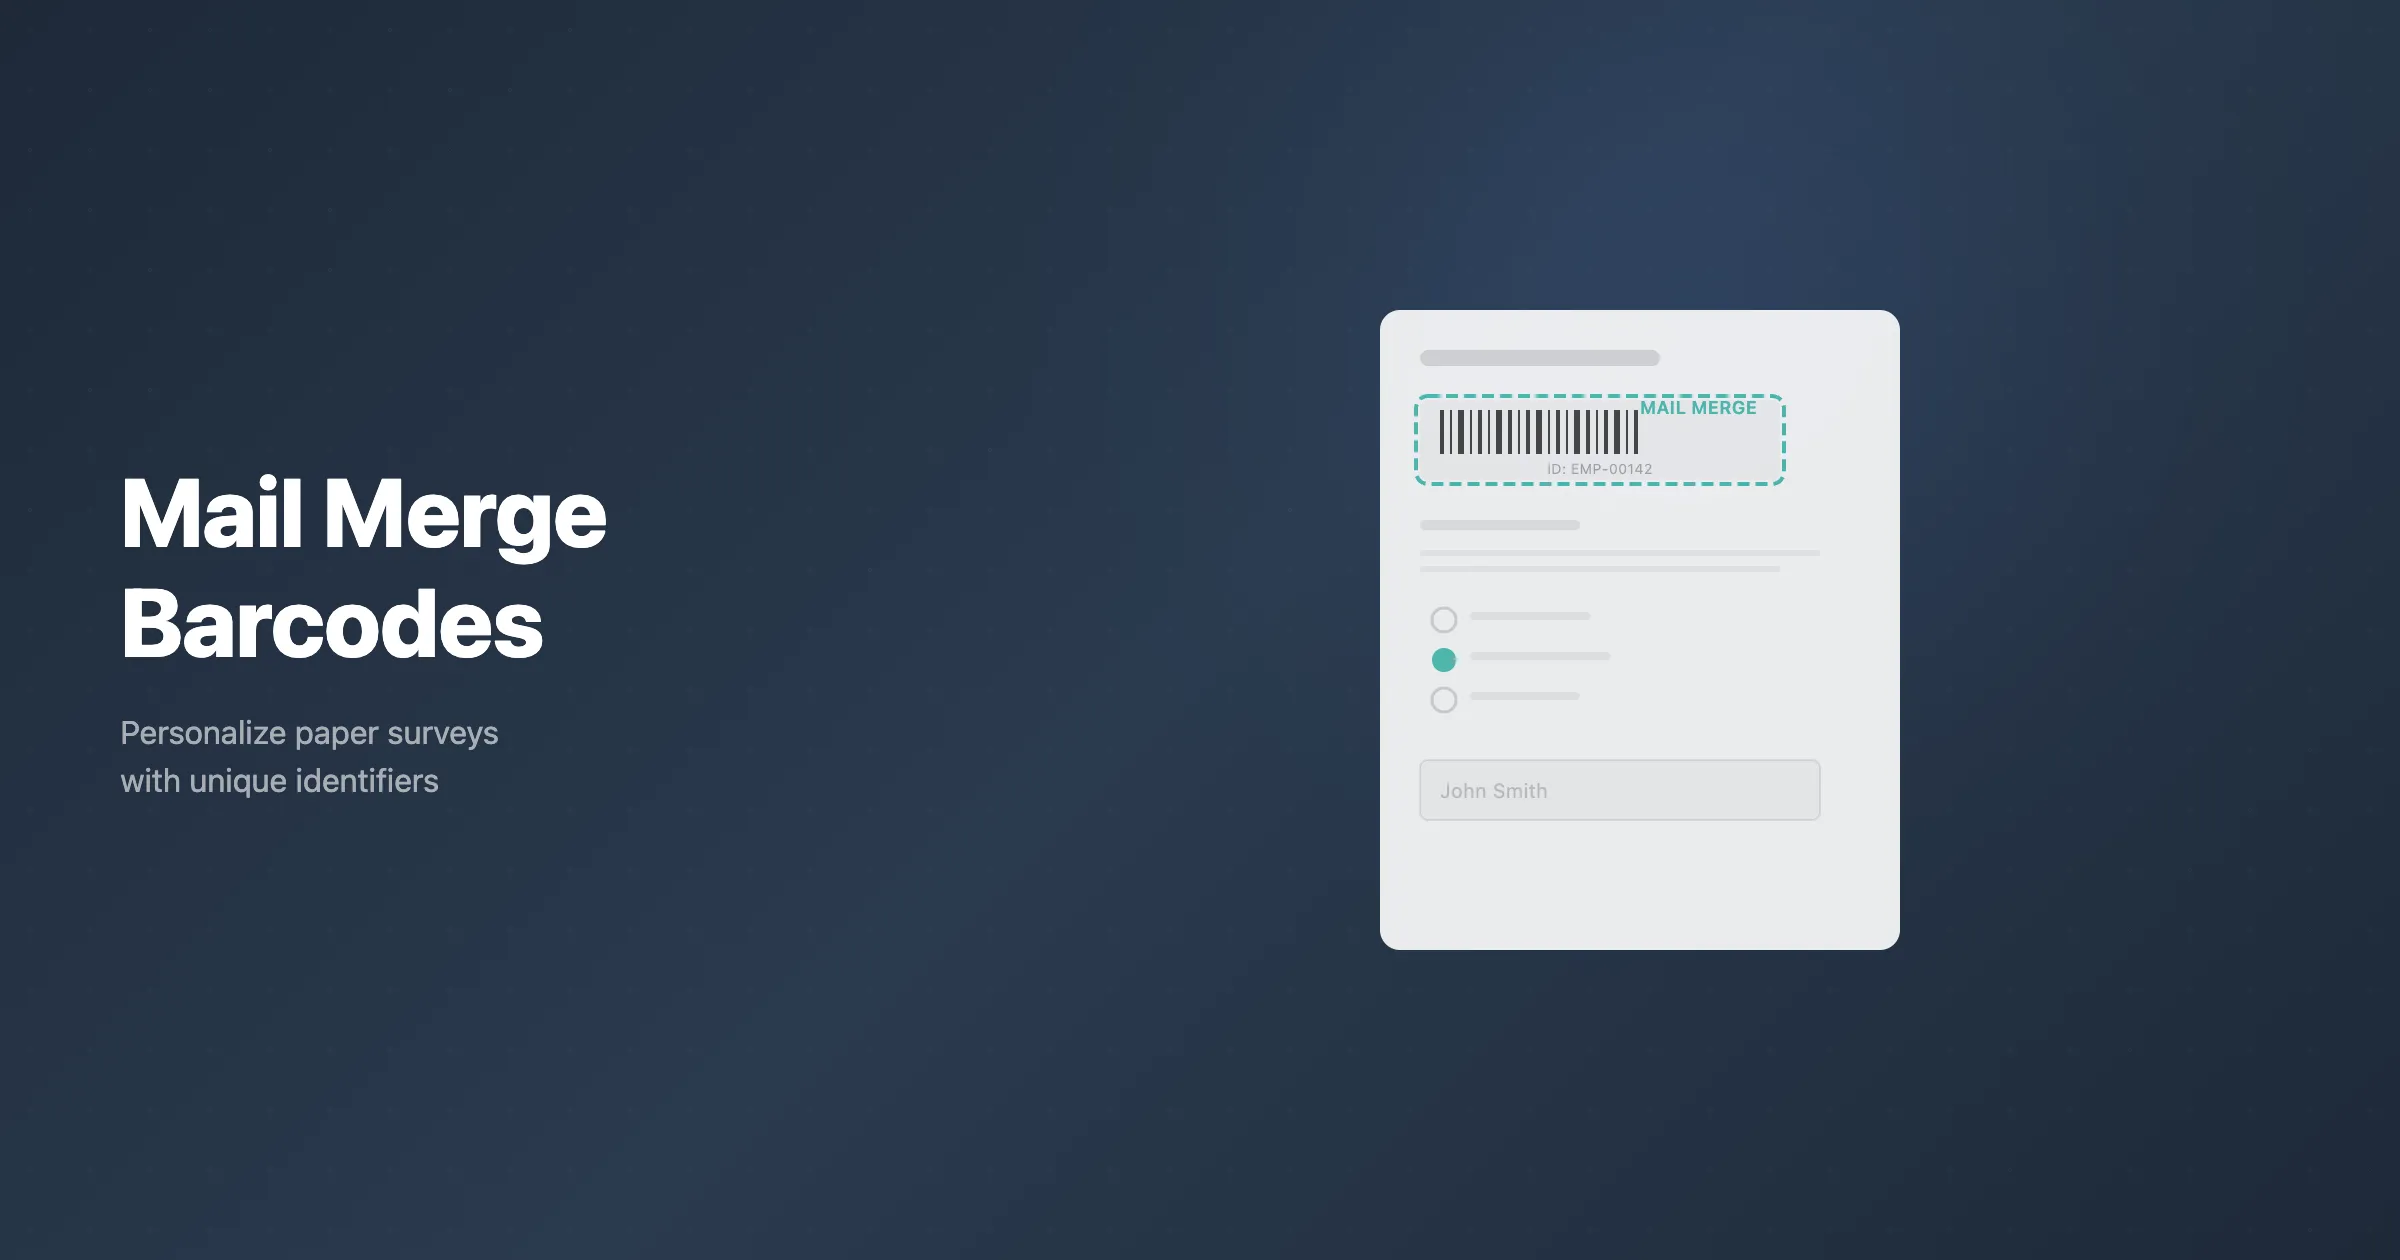
For multi-page surveys, created with papersurvey.io you must have an additional unique barcode on each page bottom-left corner. One-page surveys may also be uniquely marked but only if you would like to include some identification number:
- The barcode on the bottom-left side is used to identify a respondent.
- The barcode on the bottom-right side is used to identify the survey and page.

If you for some reason can't print unique barcodes on each page, you have an ability to disable the barcodes in the survey settings. If you do so, you must upload each copy as a separate PDF file (Suppose you have a survey with three pages and 5 people that have written their responses. You will need to upload 5 pdf files, each having three pages)
Having unique barcodes on survey pages allows you to simplify paper scanning and ensure the scanned pages are assigned to the correct entry.
- You will not need to care about the order of scanned pages.
- You may scan all pages from multiple respondents in a single file and simply upload it. We'll take care of it automatically.
- Duplicated scans will not create duplicate responses.
Two methods to insert the barcode at the bottom-left corner:
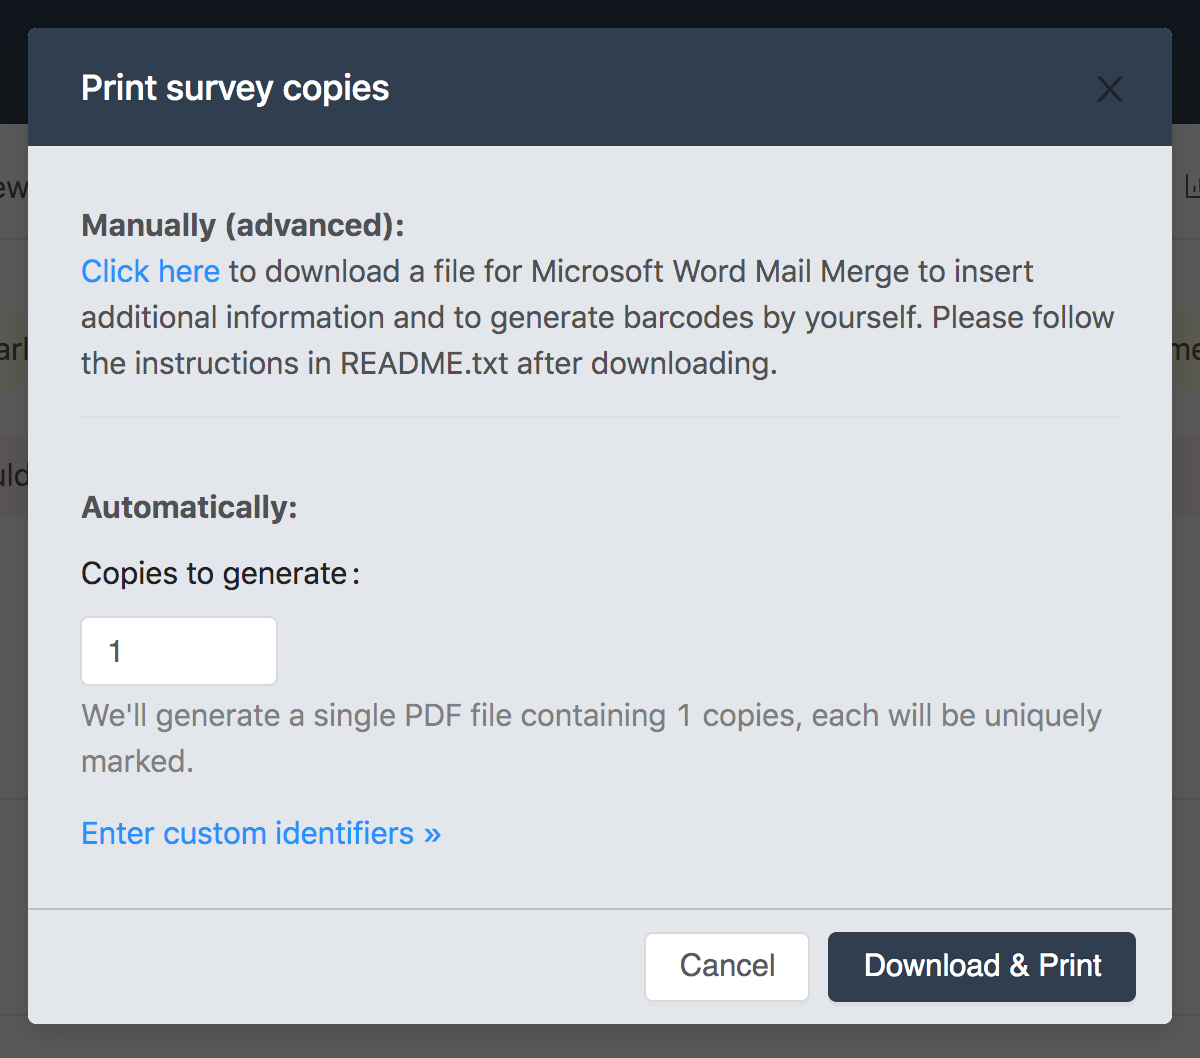
- Automatically
- Useful when you don't need to insert any additional information.
- You may provide your list of identifiers to be inserted as the bottom-left barcode.
- You may select how many copies you need and we will generate a file with the requested number of copies.
- Manually (with Microsoft Word mail merge)
- Useful when you would like to insert the additional information such as names, addresses, print cover pages or generate barcodes by yourself.
- Slightly more complicated.
Automatically create.
As mentioned above, this method is rather easy and simple and you only need to provide the number of copies you need or paste a list of identifiers you would like to use.
If you requested more than 5 copies, we will send the PDF file to your email address.
If you only need 5 or fewer copies, you will be able to download the PDF file instantly.
Microsoft Word mail merge
This method is a slightly more advanced method as you will need to follow several steps to finalize your survey setup. Also, it is quite error-prone, so please follow all steps to avoid the errors.
Download the file
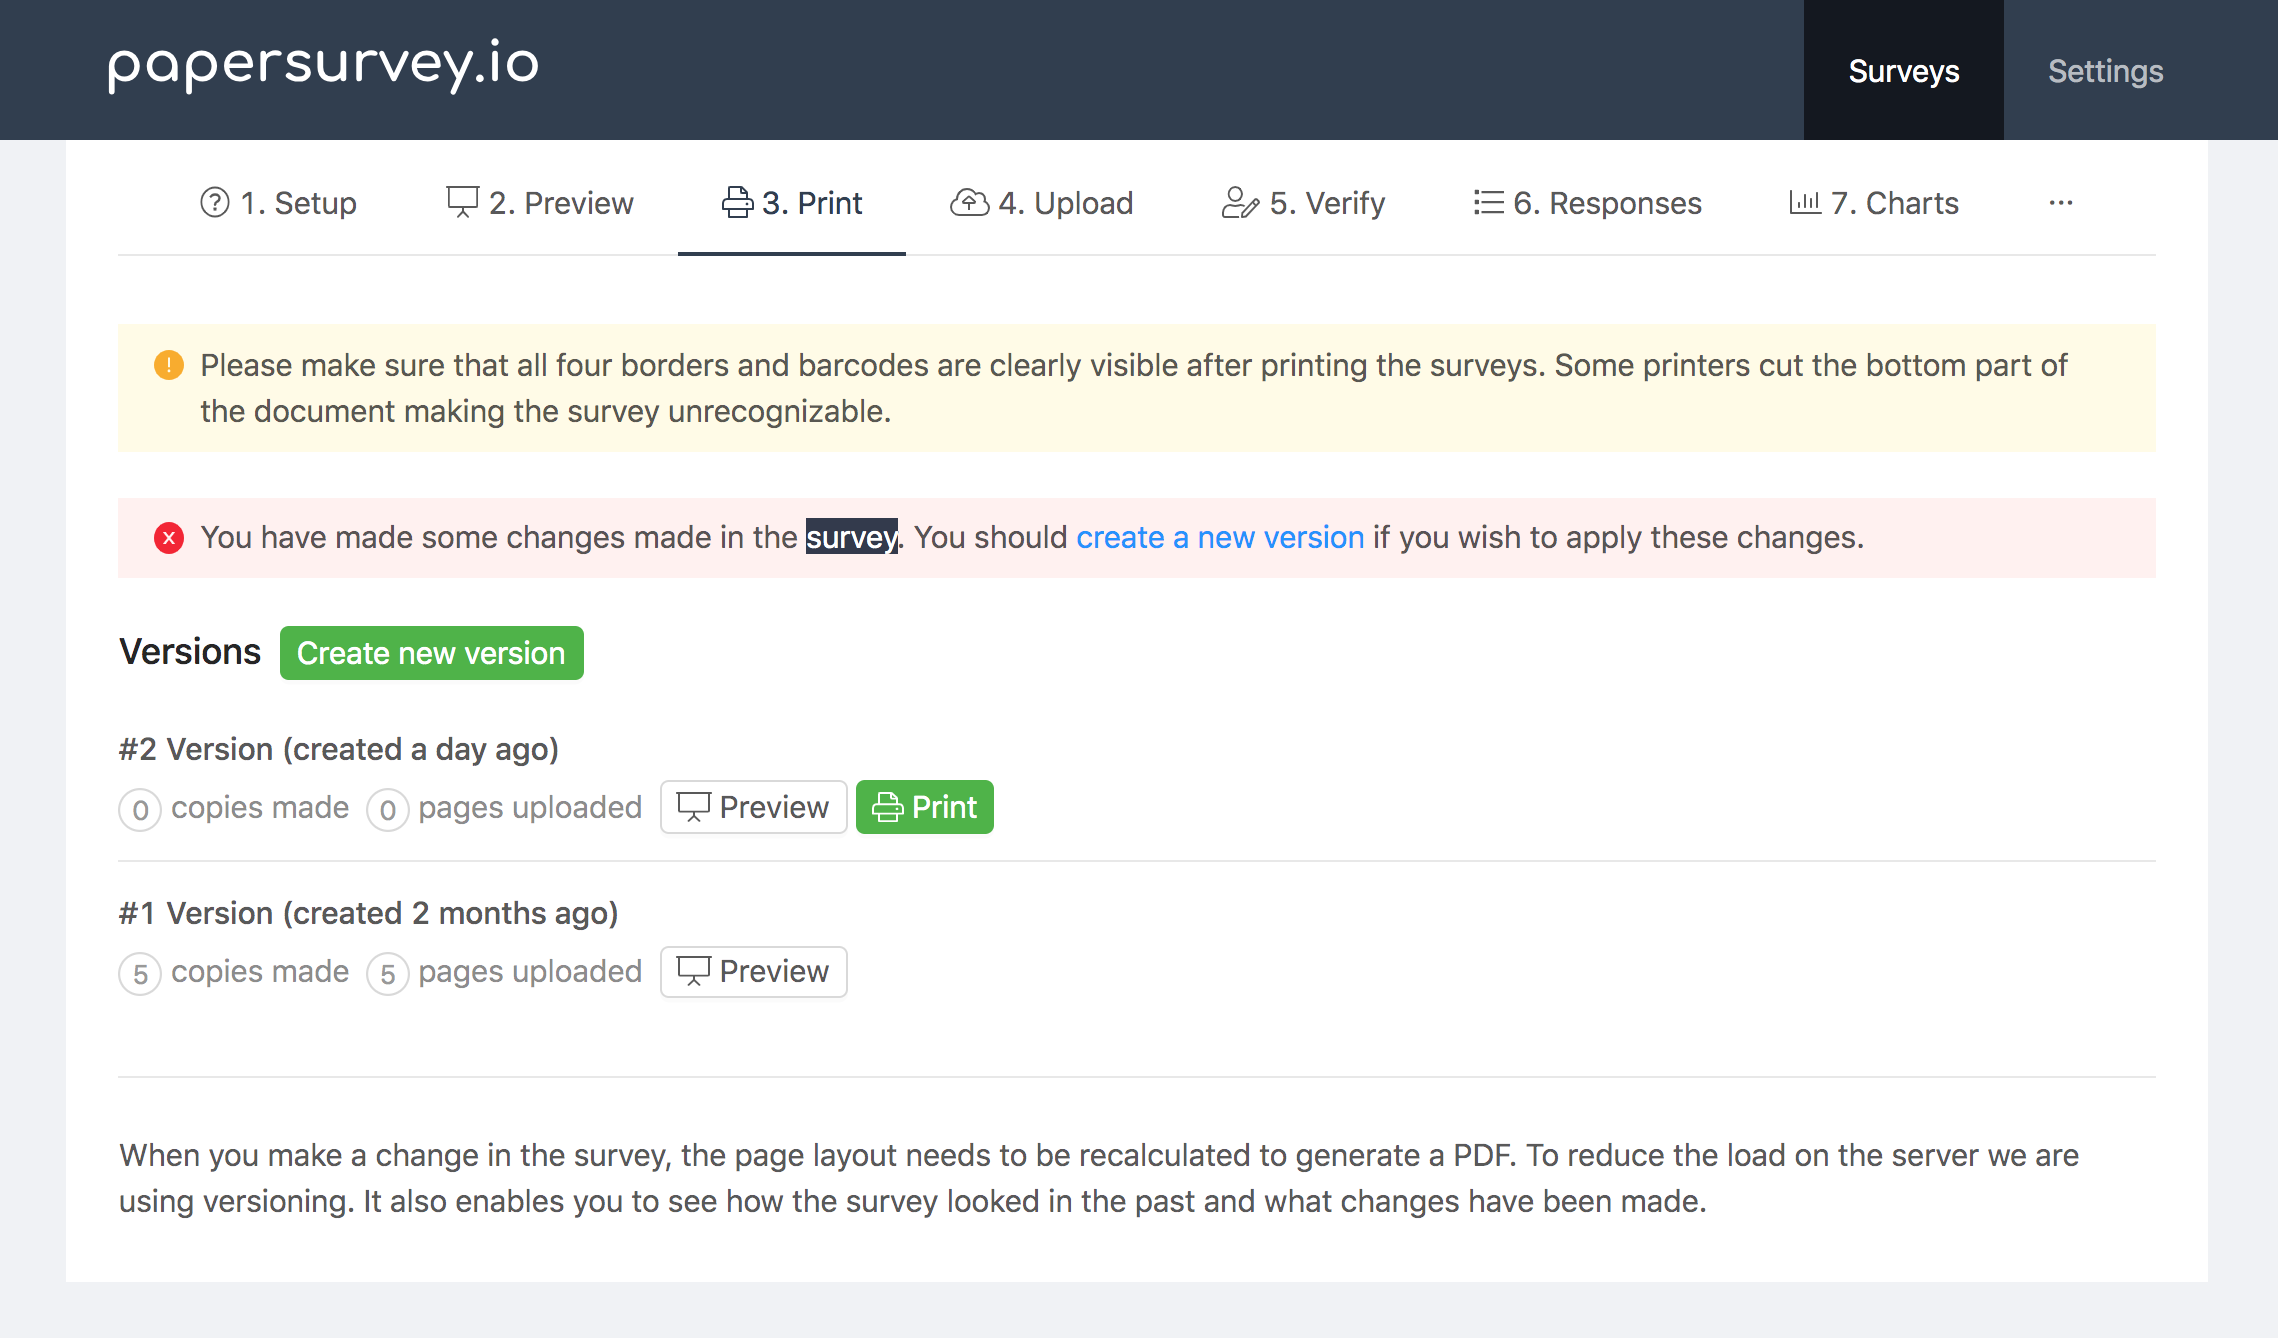
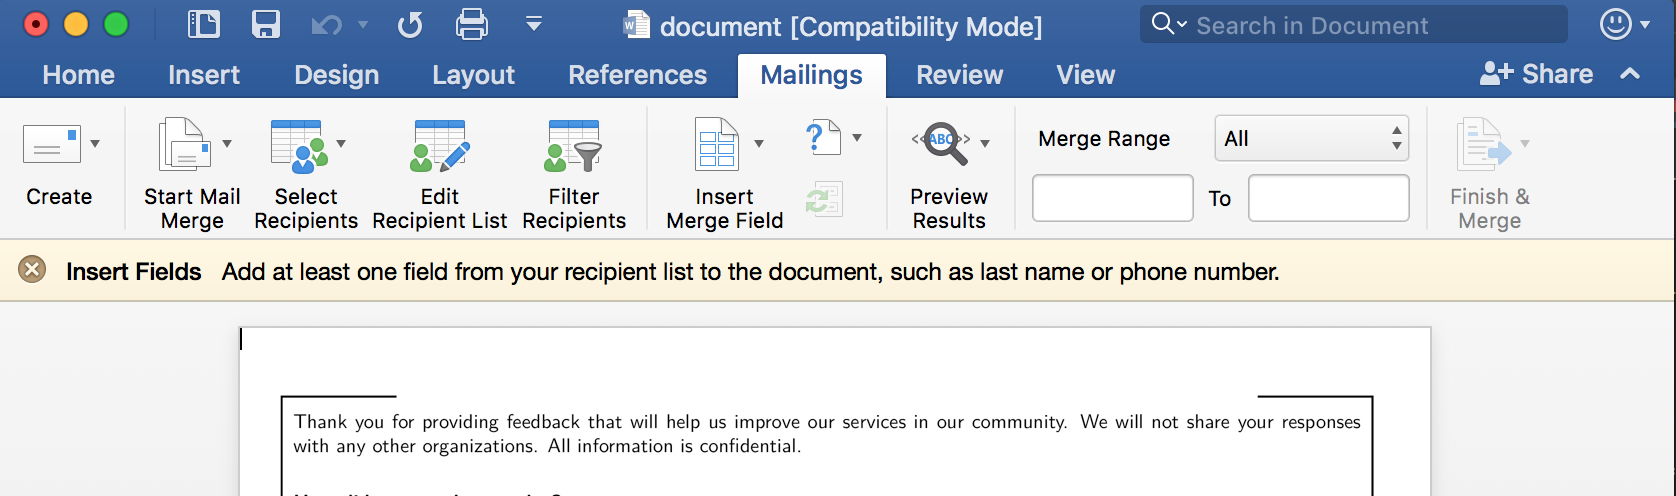
Once you have a survey ready to be printed, go to the "Print" section of your survey and click a green "Print" button. The modal window will open allowing you to download a ZIP file.
Extract the file.
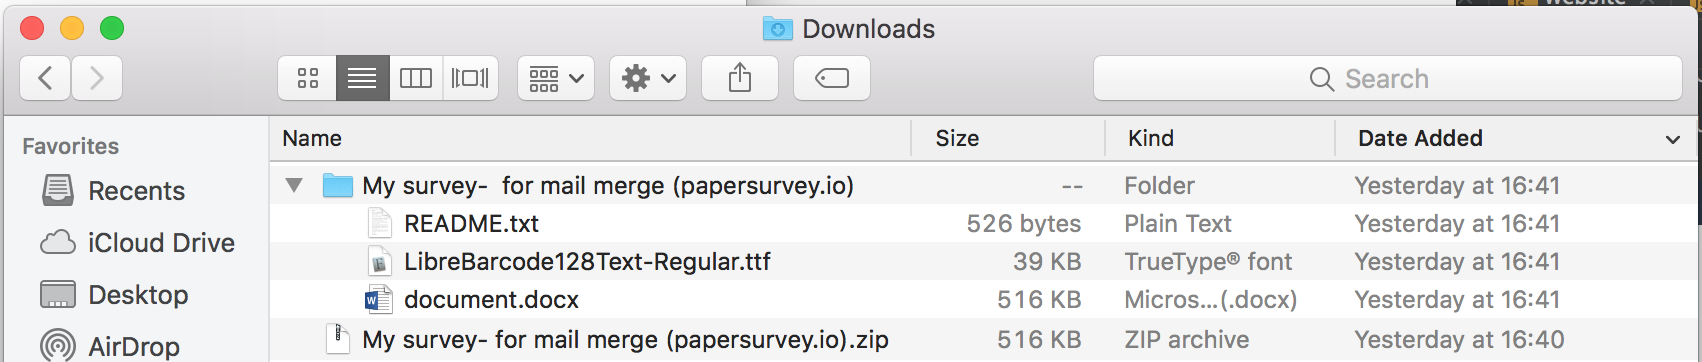
You should extract the downloaded ZIP file where you will find three files:
- README.txt - a short guide on how to use the mail merge.
- document.docx - Microsoft Word file for the mail merge.
- LibreBarcode39Text-Regular.ttf - Barcode 39 font.
Install the Barcode 39 font
Open LibreBarcode39Text-Regular.ttf file and install this font in your system. This will allow you to generate barcodes with mail merge.
You should restart Microsoft Word after installing the font for it to appear in available fonts.
Insert a barcode field
- Open the document.docx with Microsoft Word.
- Create or import your Recipient list by clicking on the "Edit recipient list".
- Click on the "Insert merge field" to insert a barcode.
- Position the field at the bottom-left corner of the page:

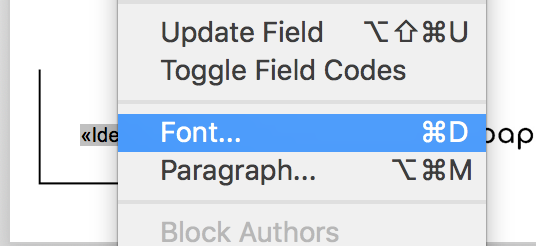
- Right-click on the field to change the font:
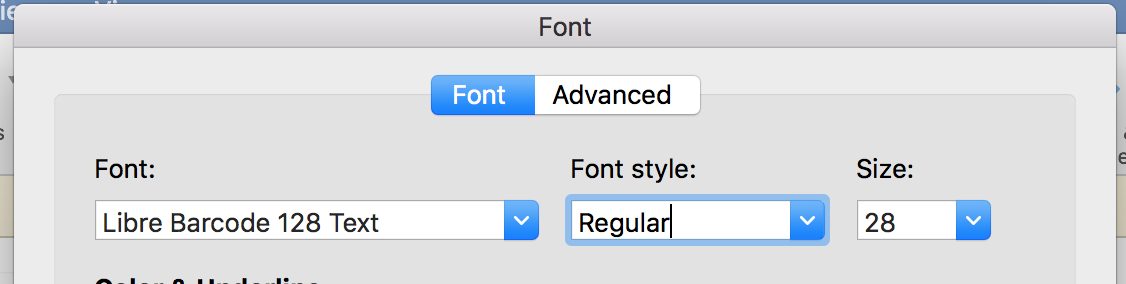
- Select "Libre Barcode 39 Text" with 26 font-size:
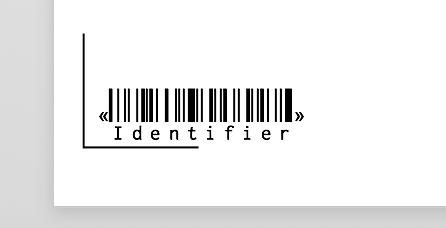
- The resulting field should look similar to this:
- You may also click "Preview Results" to see how it looks with actual data:
- You should copy these fields to all of your pages.
Barcode encoding - The most important part
The barcode texts must be encoded to generate a valid and recognizable barcode.
Barcode 39 text must be wrapped in asterisks. e.g. 123 must be encoded as *123*
Other barcodes have different encoding requirements. We chose Barcode 39 as it is simplest. You may as well use any other barcode type (QR, Codabar, Code 128, EAN-13/UPC-A, UPC-E, EAN-8) if you like. Just do not forget to correctly encode it.
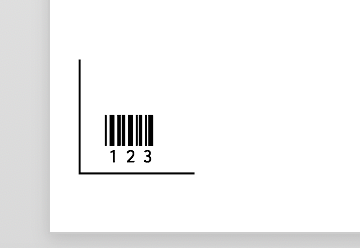
Your ID must start with * and end with *
Below are two barcodes. The left one is not-encoded and will not be readable. On the right, a barcode is correctly encoded. If your barcode is very short, it is likely you have forgotten to put the asterisks at the start and end.

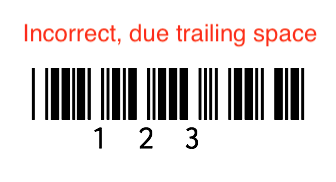
Another common problem is to also apply barcode font to the whitespace characters. Suppose we have text as *123*_ (where _ is white space and * is the encoding). As it ends with a trailing space, a barcode will not be recognized:
To double-check the barcode was generated correctly we would highly recommend you to download a barcode scanner app (e.g. for Android, for iOS) on your phone and check if the printed barcode can be read by the app. If it is, your barcode is encoded correctly.
Finalize
Add any additional information you need and print the pages!
That's it!
Hope you found this guide useful. If you are having some trouble, feel free to contact us at hello@papersurvey.io.