Using the PaperSurvey.io data entry platform you may easily create and manage your paper-based questionnaires.
The platform provides an end-to-end solution from creating surveys to processing scanned documents and analyzing the recognized data.
This is a short guide on how to use PaperSurvey.io software and to set up your first survey. We are going to go through all the steps from the registration to the data export.
Want to speed up survey creation? You can start from an existing template and build upon it, choose a pre-built survey from our template library.
Table of Contents
- Register an account
- Create a survey
- Add questions to a survey
- Print paper survey
- Distribute
- Scan paper forms
- Upload & Process
- Verify responses
- Analyze results
- Export data
Register an account
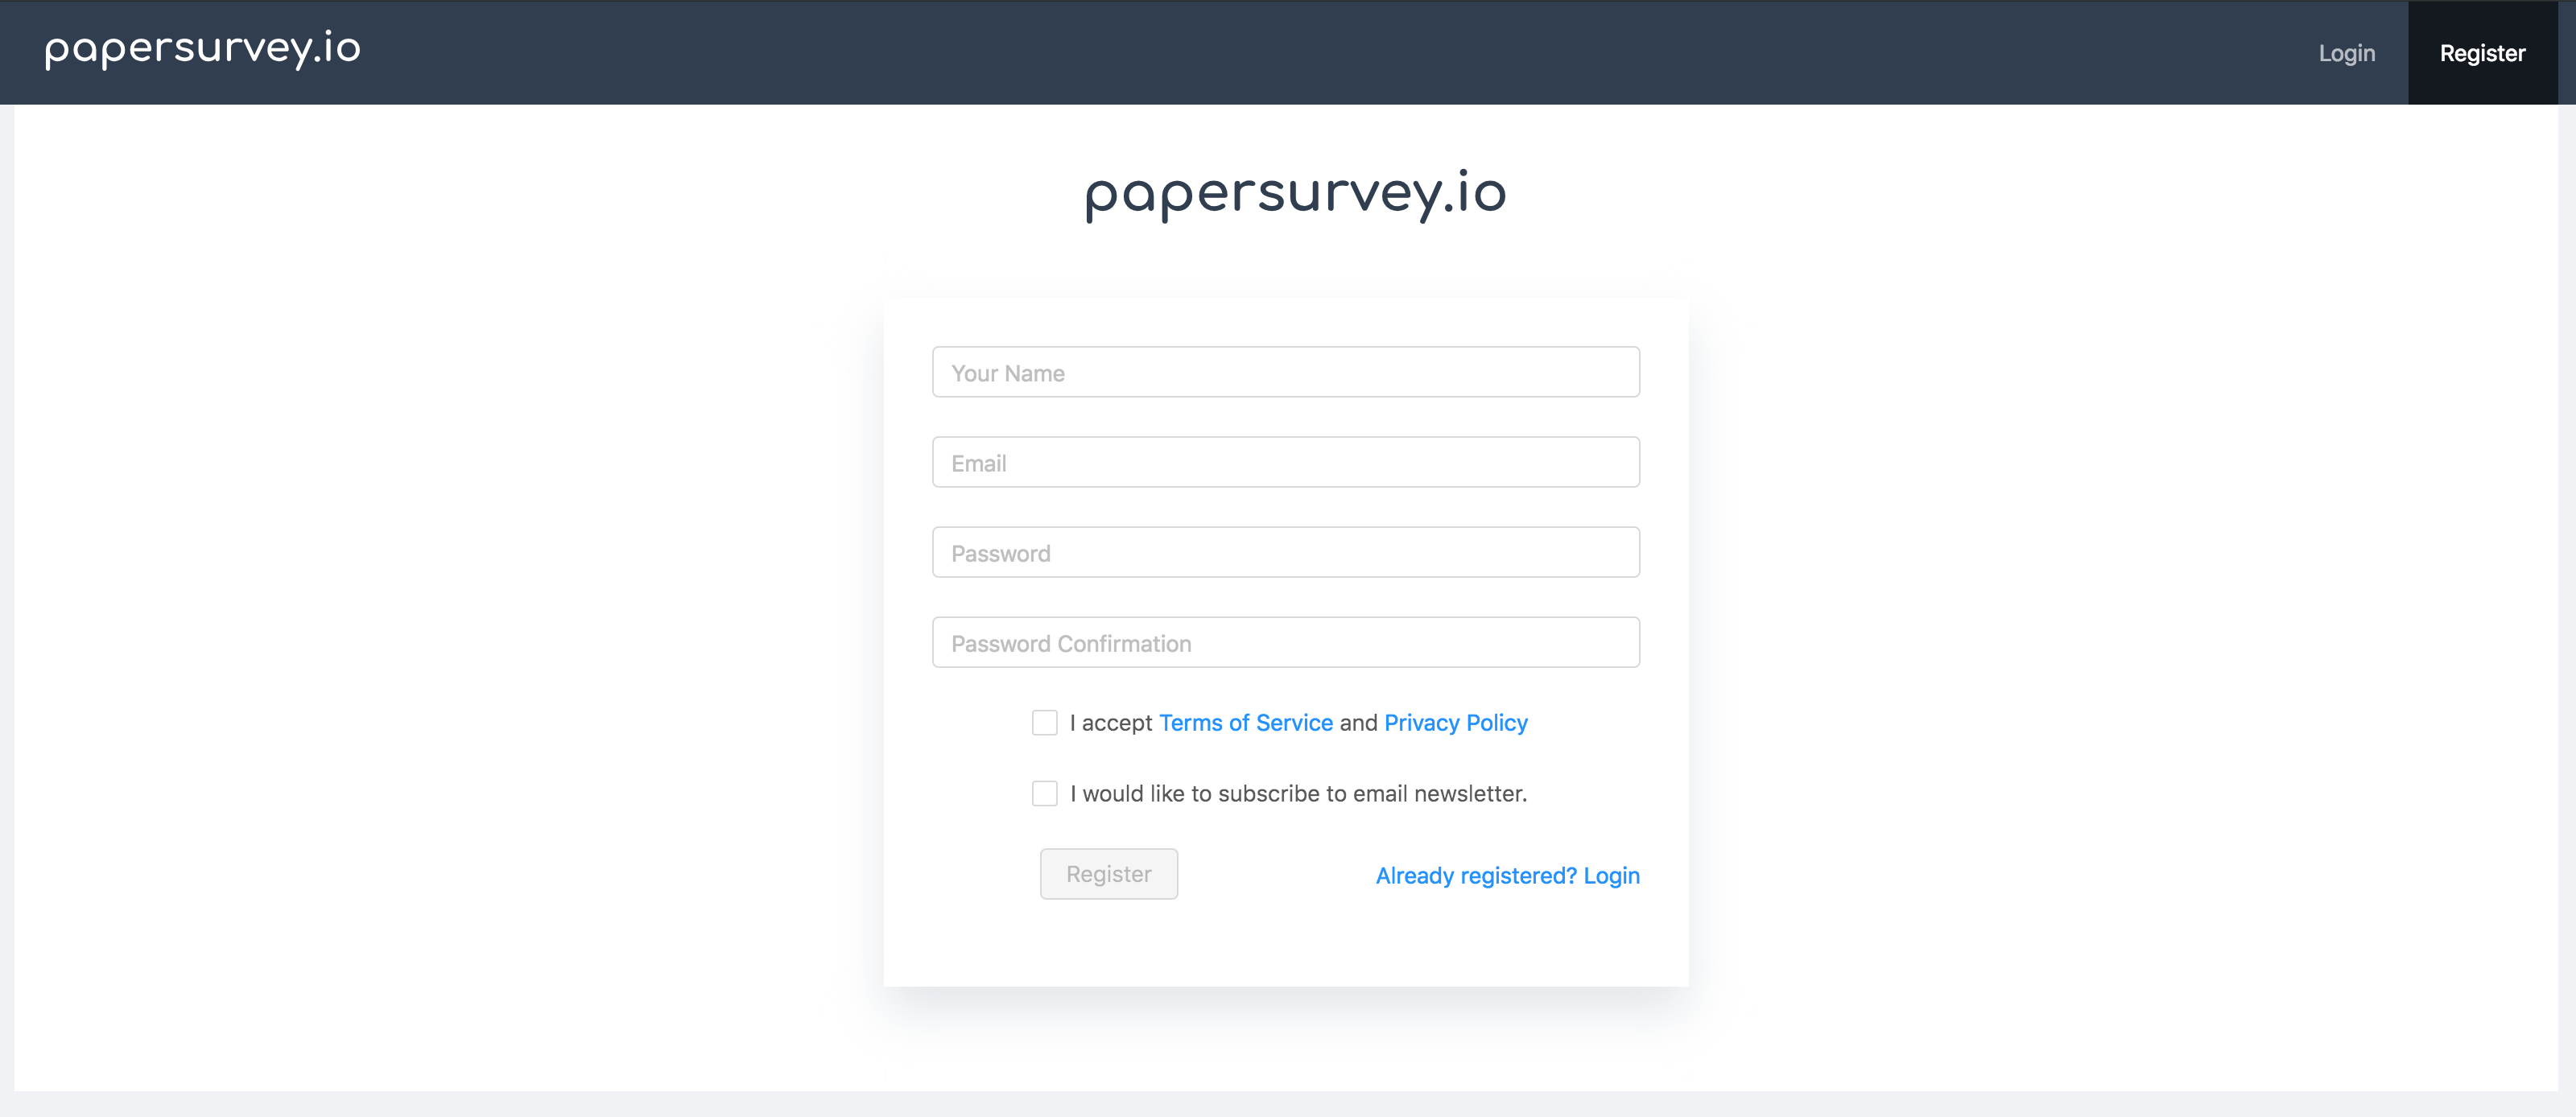
You should first register a new account if you don't have an account already. You may try the service for 14 days, no credit card details required.
Create a survey
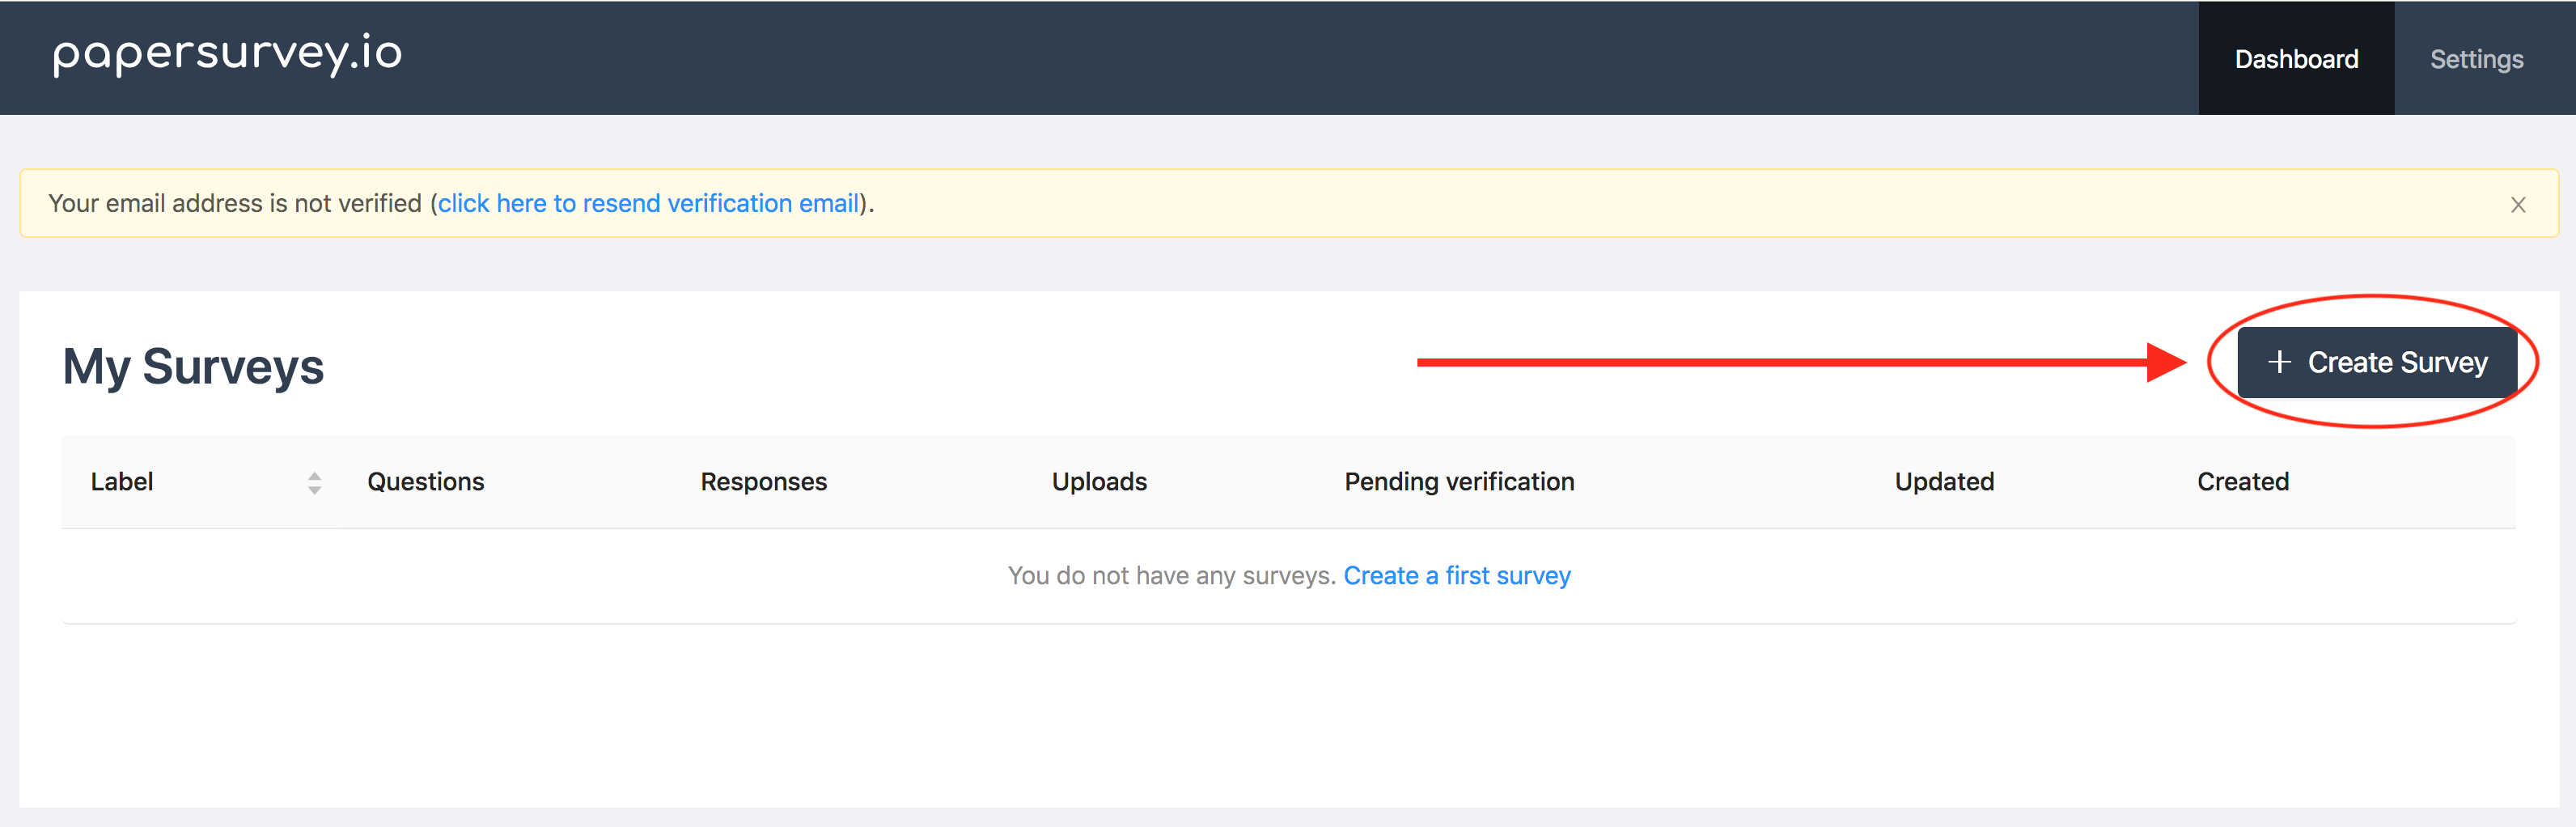
To create a new survey, click Create Survey in the upper-right corner in your dashboard and choose the survey name and language.
Add questions to a survey
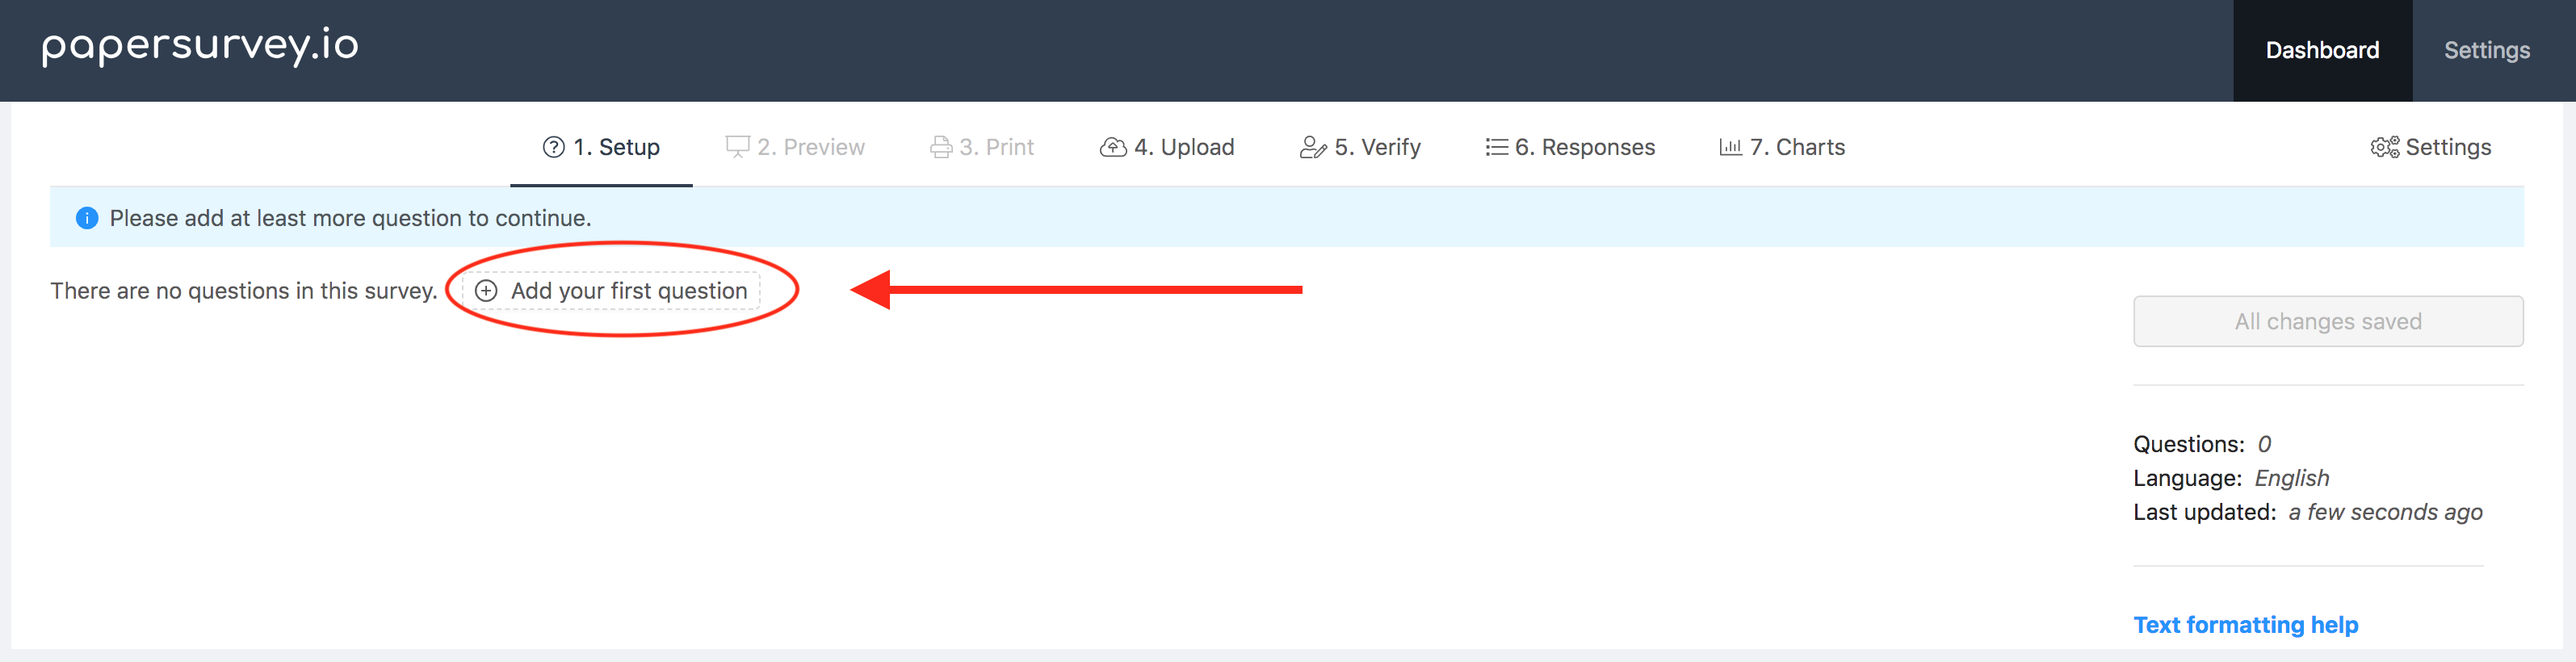
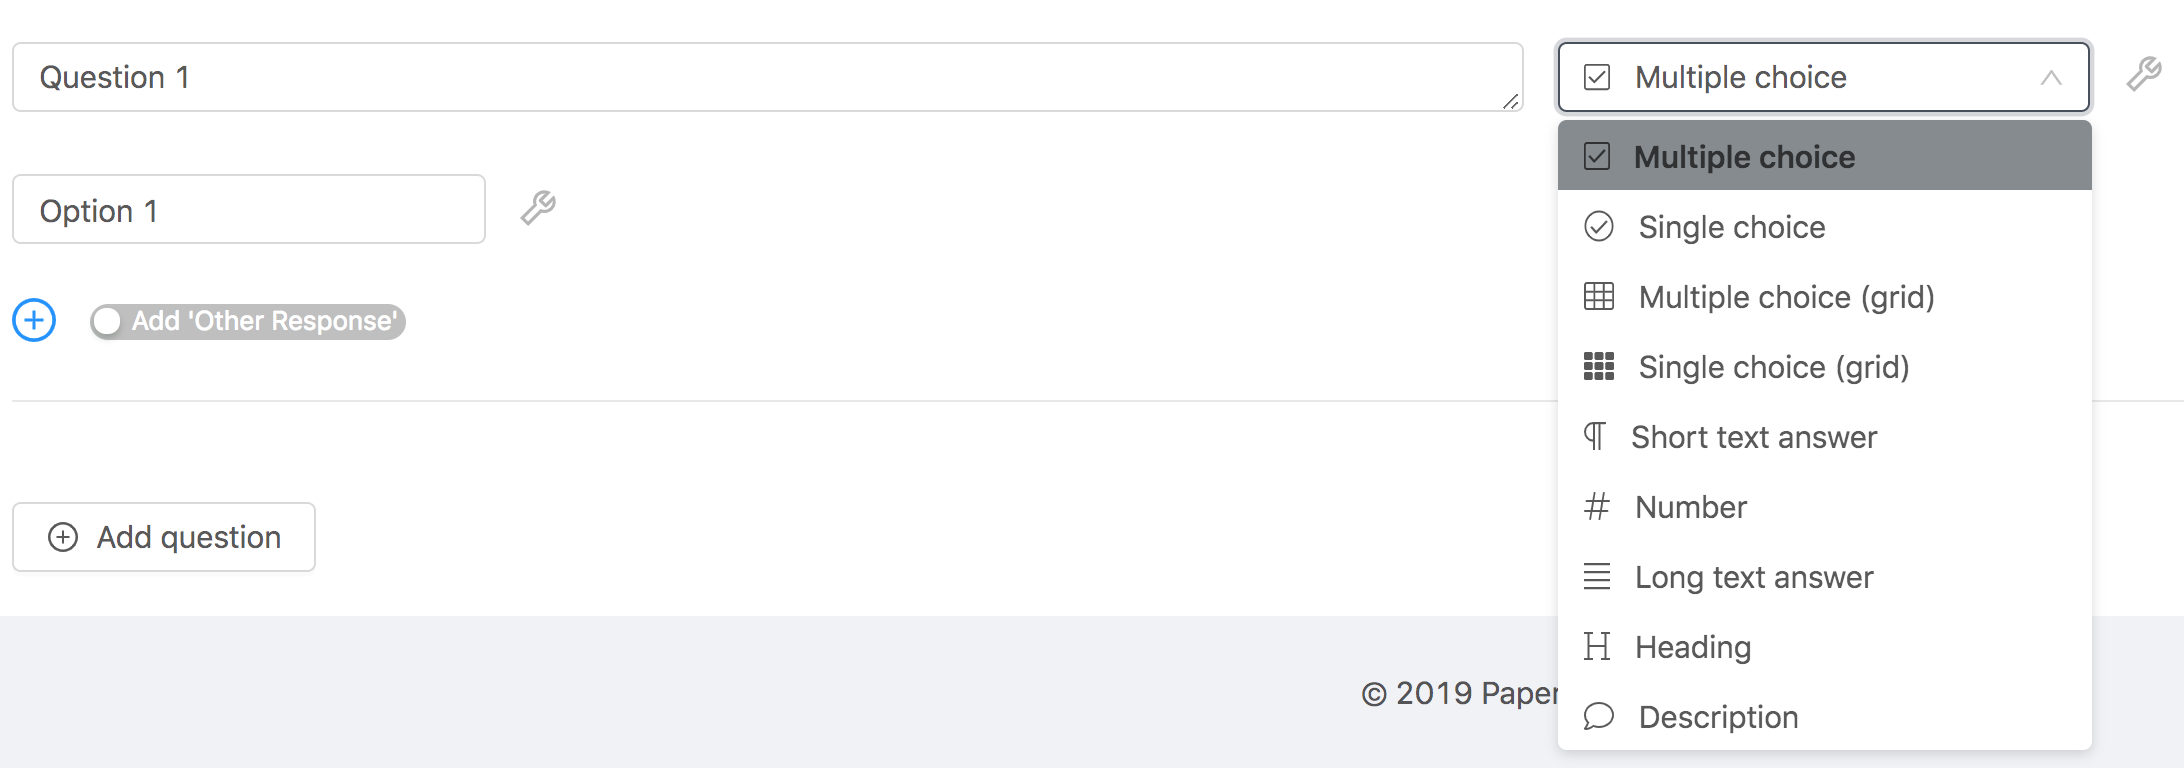
Now you may add questions to the survey. To add your first question click "Add your first question" and set the question type you want
Question types
At the time of writing this article, there were 12 question types available, there may be more right now. You may download a sample survey to see how each question type looks like.
Below is a list of the question types and short descriptions of each type.
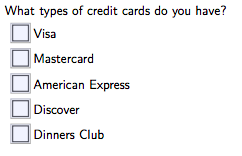
Multiple choice
This question type is suitable for questions where the respondent can pick more than one response:
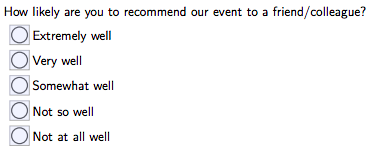
Single choice
This question type is suitable for questions where the respondent can only pick a single answer. If the respondent checked multiple boxes, the response will be flagged for additional verification:
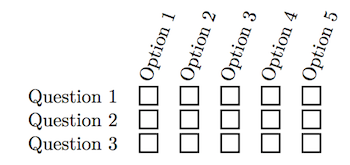
Multiple choice (grid) / Single choice (grid)
This question type is very similar to Multiple choice/Single choice question type. However, the layout is different allowing to fit more questions on the page and is mostly suitable when all question options are identical.
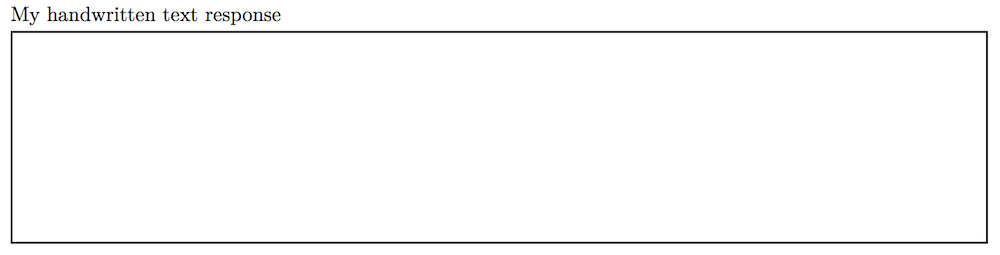
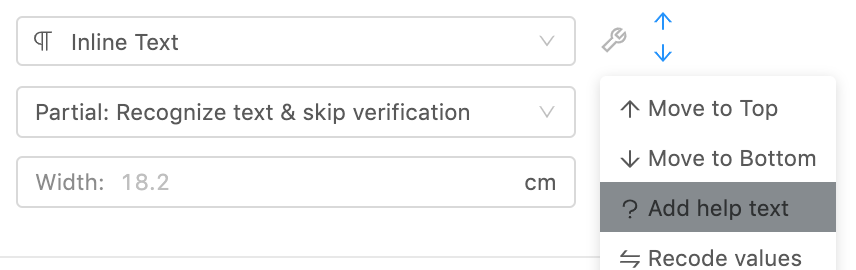
Inline Text
This question allows us to write a text response. You are able to set the width of the square box:

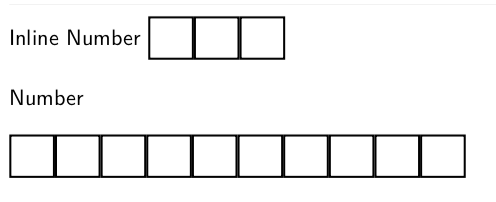
Number
In the paper survey, the question looks similar to Inline Text. However, this question type only recognizes numeric responses. You may choose to have a free-text response box or a field with a specified number of boxes, writing each digit in separate box. We highly recommend the latter as it is much simpler accurately detect and read the numbers written such way.
Long Text
Similarly, as an Inline Text, this question allows writing a longer text response to allow entering more text. You may set the box height as long as you want.
Range
The range question type allows us to configure a question with a specified number of checkboxes, left and right labels.

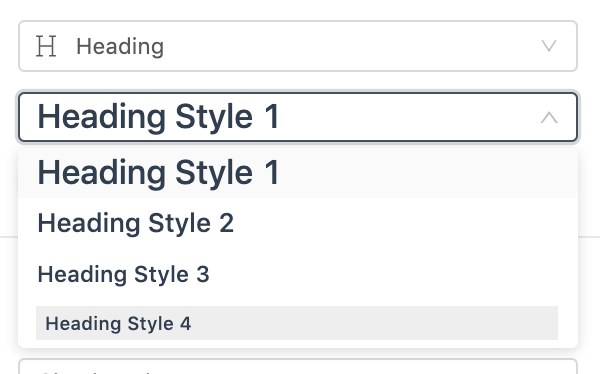
Heading
Headings allow to emphasize and separate blocks of questions. There are four different styles/sizes you can choose with an ability to customize the colors
Divider
Adds a simple horizontal line to separate blocks of questions.
Page break
Adds a page break and shift all questions to the next page. Useful when you would like to add the following questions on the next page.
Description
Using this question type you may add some informational text in any part of the survey. You may wish to view text formatting options to further customize the text.
Survey settings
There are several settings available that allow customizing how the layout looks like. You may click on the "Settings" tab to customize how your survey looks like.
Remove informational header
By default, we include information on how to respond (see below). If you would like to remove it. Just enable this setting.

Remove default help text
By default, we include default help text that you can customize or completely remove with this setting.
Preview
Open the "Preview" tab to instantly preview how your survey would look like. It may take several seconds to generate it, depending on how long is your survey.
Print paper survey
Once you have added all the questions you need and you are happy how the survey looks like, it is time to print it. Depending on how many pages you have in the survey, one or two barcodes will be included on the footer of the survey.
If the survey has only one page, we will include one QR code on the bottom-right side of the page. This allows us to easily identify which survey you are uploading.
If there are two or more pages, an additional barcode on the bottom-left side of the page will be generated. This additional QR code ensures you are not uploading the same survey twice and simplify the uploading process.
For instance, if you have a 3-page survey with 10 respondents, there will be 30 pages to scan. You may drop the sheets on the ground, shuffle it several times and upload the scanned documents in any order. We will still match all pages in the correct order.
If you wish, you may enable the additional barcode to be included in one-page surveys too. For multiple-page surveys, you can disable the bottom-left barcode, but you will need to upload each set of pages in a separate PDF/TIFF file.
Scan paper forms
Once you have some responses collected you may scan them for recognition. We advise on making a few test scans to test your printer and scanner. Sometimes with budget printers, there are problems where printers crop the bottom part of the survey.
If you don't have a scanner already or planning to upgrade, please take a look at our Best document scanners for paper-based surveys recognition guide.
Upload & Process

After you have scanned the files, you may finally upload them.
We provide several ways to upload scanned documents:
- Upload - go to the website and select the files to upload.
- Email - send an email and it will be automatically processed.
- Zapier - connect other applications to papersurvey.io and streamline uploads
- This allows optimizing the workflow in any way you want without needing to code:
- Send Gmail attachments to PaperSurvey.io for processing
- Do something when uploaded documents are recognized (e.g. to send data to your database)
- This allows optimizing the workflow in any way you want without needing to code:
- Dropbox integrations - upload scanned files to a selected folder and we will automatically sync it when a file is added to Dropbox.
- Android application - (coming soon) Scan and automatically crop documents using an Android app and instantly upload documents to PaperSurvey.io.
- Programmatic access (API) - (requires Enterprise Plus plan) develop custom integrations to interact and upload files to PaperSurvey.io from your CRM or app.
Verify responses

In certain cases, checkboxes may not be recognized (very rarely). We will flag these responses for you to double-check and pick the correct response.
Open response questions such as Long text answers and Short text answers are recognized automatically, but we ask you to double-check if it was read correctly.
Analyze results

Although, at the moment quite limited, you may able to see the basic statistics in word clouds and bar charts to analyze the collected data.
Please reach out to us if you like to see different analysis methods and we will try to add them.
Export Data

The software allows exporting data to two most common formats for the additional data analysis:
- CSV
- Excel
- Excel with images - Includes text responses as images
- SPSS
Currently, we cannot export your uploaded files in bulk, but you can download the uploaded files, one by one.