This guide walks you through the complete process of creating a paper survey, printing it, collecting responses, and viewing your results.
Step 1: Design your survey
- Click Create Survey on your dashboard
- Enter a name for your survey
- Add questions in the editor using the Add new question button, or the plus button that appears between questions, then pick a type for each question from its dropdown
Start simple. A good first survey might include:
- A single choice question (e.g., "How satisfied are you?")
- A multiple choice question (e.g., "Which features do you use?")
- A short text question (e.g., "Any additional comments?")
You can preview your survey at any time by clicking Preview in the top toolbar.
Step 2: Print your survey

- Go to the Print tab in the survey editor
- Click Create a version for printing
- Once the version is generated, click Print next to it, then Download in the dialog that opens (you can also have the PDF sent to your email)
- Print the PDF on standard A4 or Letter paper
For best results:
- Print in black and white (color is optional)
- Use standard white paper
- Do not scale or resize the PDF when printing
- Make sure the four corner markers are clearly visible
See Do I Need to Print Surveys in Color? for more details.
Step 3: Distribute and collect
Hand out printed surveys to your respondents. They can fill in the survey using a pen. Once completed, collect all the forms.
Step 4: Scan your surveys
Scan the completed surveys using a flatbed scanner, document scanner, or even a smartphone camera. Save the scans as PDF, JPEG, PNG, HEIF, or TIFF files.
For scanning recommendations, see Recommended Scanner Settings.
Step 5: Upload to PaperSurvey
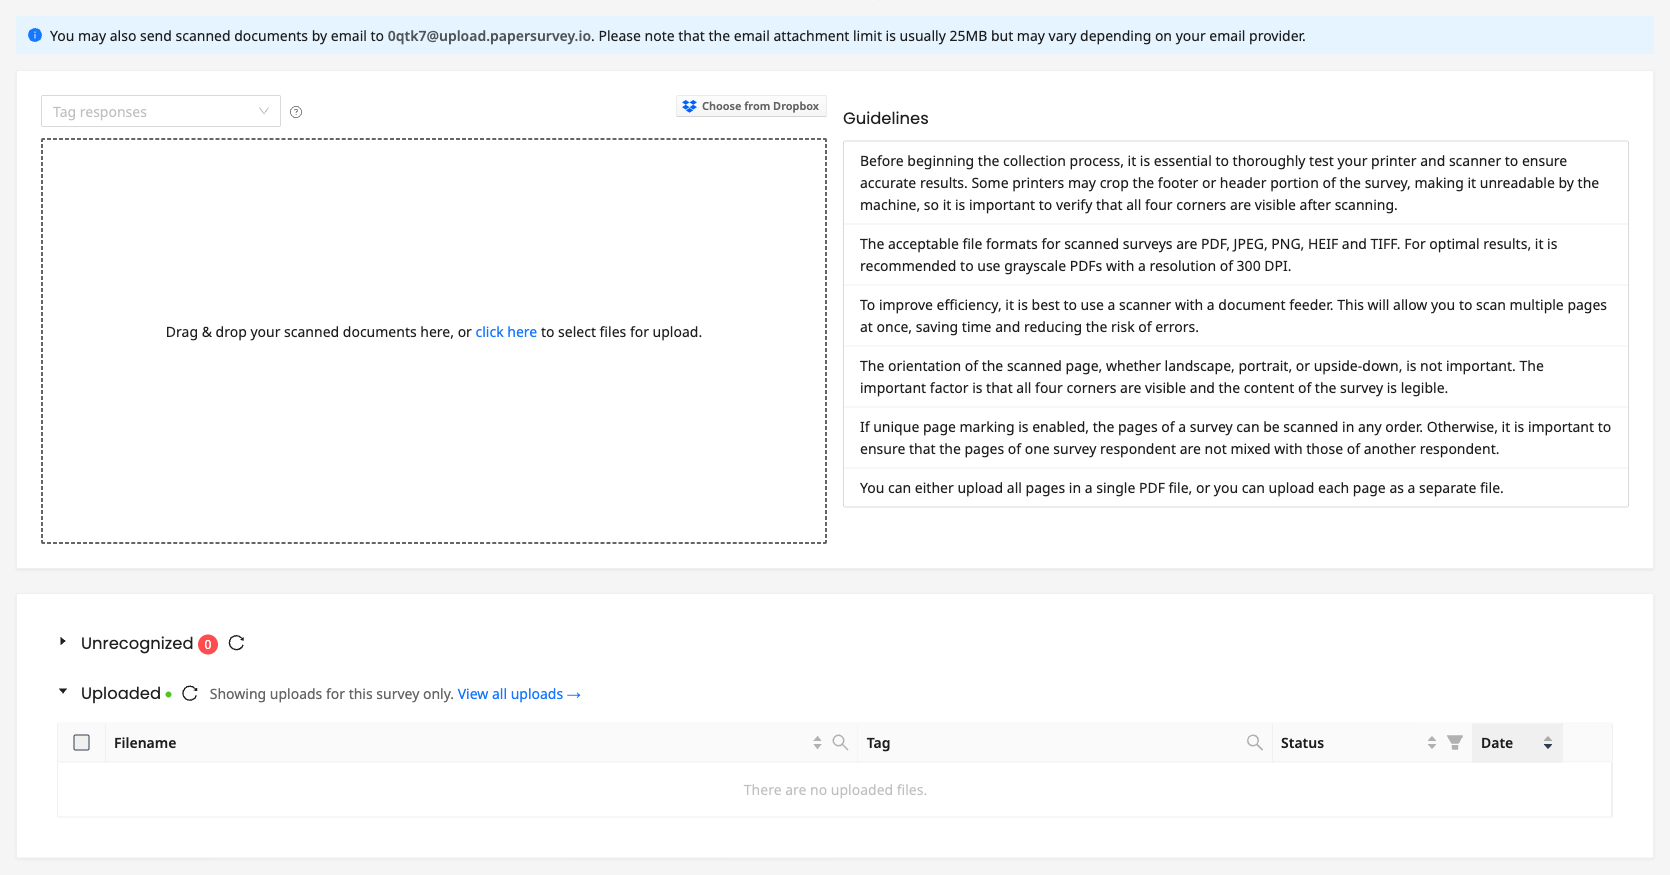
- Open your survey and go to the Upload tab
- Drag and drop your scanned files, or click to browse
- PaperSurvey will begin processing your uploads automatically
Processing typically takes a few seconds per page. You will see a progress indicator as pages are read.
Step 6: Verify responses
After processing, PaperSurvey may flag some fields for verification. This happens when handwriting is unclear or a mark is ambiguous.
- Go to the Verify tab (a counter on the tab shows how many fields need attention)
- Compare each detected answer with its scanned image snippet
- Confirm or correct each flagged field
You can also open the Review tab to look through complete responses alongside the scanned pages.
Step 7: View and export your data
Once verification is complete, your data is ready. You can:
- Browse responses in the Responses tab
- Create charts in the Analysis tab
- Export data as Excel, CSV, or SPSS files using the Export option in the Responses tab
Congratulations, you have completed your first paper survey from start to finish.